
NEWS
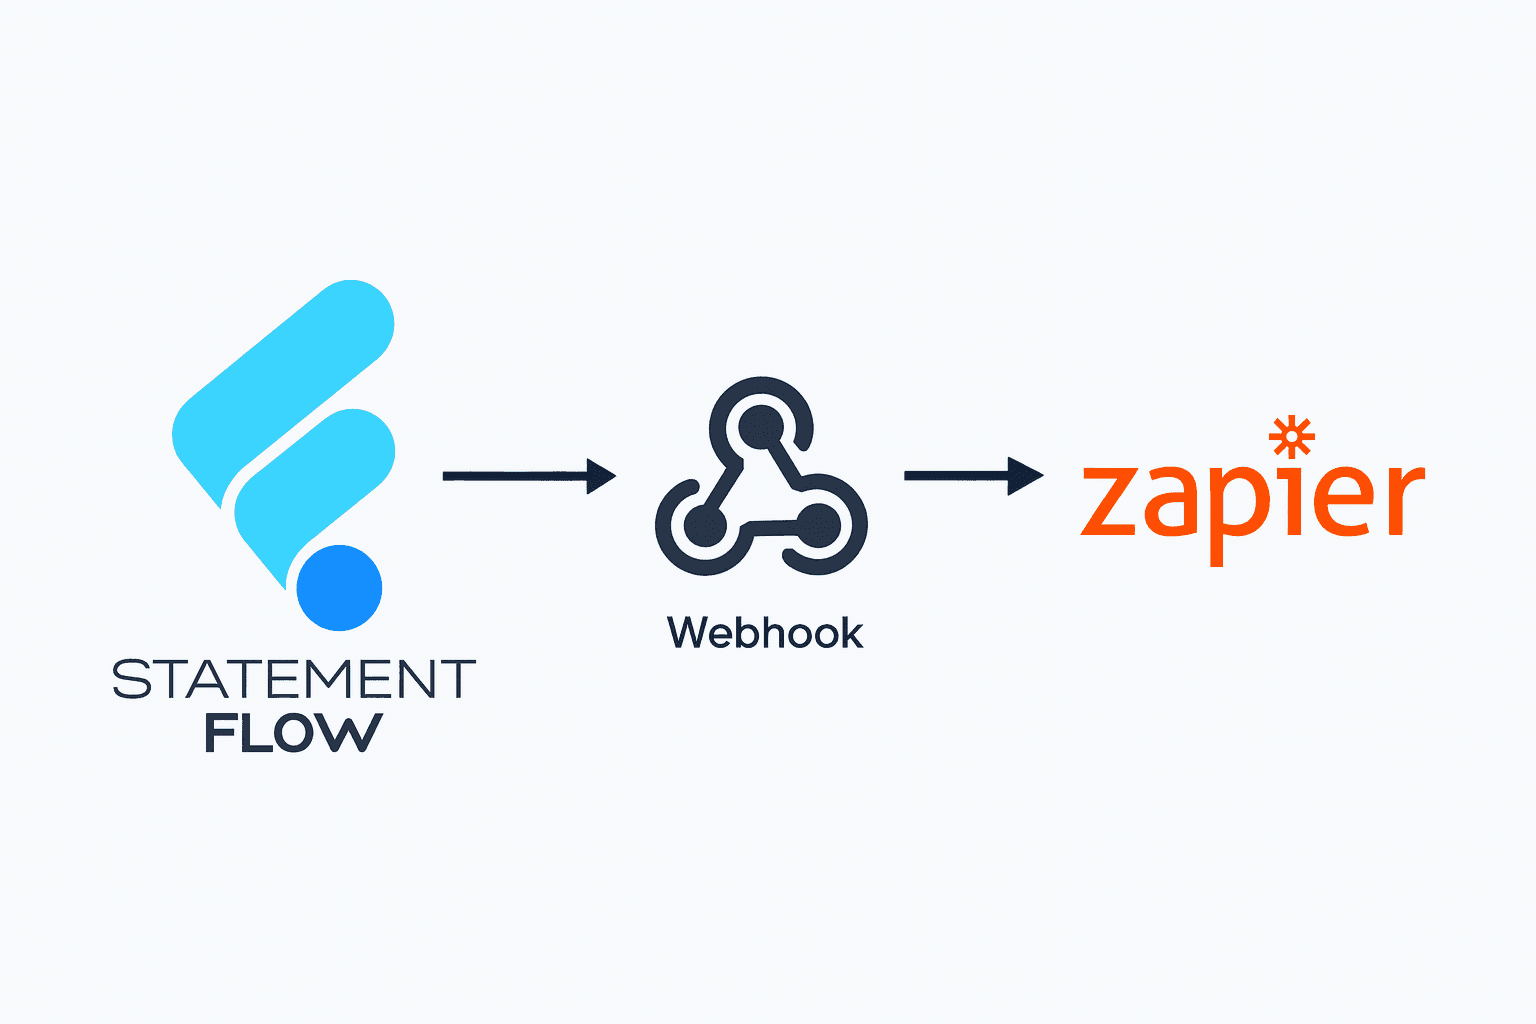
How to Integrate Zapier with Statement Flow's Webhook
Patrick Glider
Sep 19, 2025
Introduction
Statement Flow's webhook integration allows you to automatically send converted bank statement data to thousands of other applications through Zapier. This guide will walk you through the setup process step by step.
What You'll Need
- A Statement Flow account (Professional plan or higher)
- A Zapier account (free tier works for basic automations)
- About 10 minutes of your time
Step 1: Get Your Webhook URL from Zapier
- Log into your Zapier account
- Click "Create Zap"
- Search for "Webhooks by Zapier" as your trigger
- Select "Catch Hook" as the trigger event
- Copy the webhook URL provided
Step 2: Configure Statement Flow
- Go to Settings > Webhooks in Statement Flow
- Click "Add Webhook"
- Paste your Zapier webhook URL
- Give it a name like "Zapier Integration"
- Click Save
Step 3: Test the Connection
- Upload a test bank statement to Statement Flow
- Check Zapier to see if the data was received
- You should see the transaction data in JSON format
Step 4: Build Your Automation
Now you can connect the webhook to any of Zapier's 5,000+ apps:
- **Google Sheets**: Automatically add transactions to a spreadsheet
- **Slack**: Get notifications when statements are processed
- **Airtable**: Build a transaction database
- **Email**: Send summary reports to your team
Pro Tips
- Use Zapier's Filter feature to only trigger actions for certain transaction types
- Set up error handling to catch any failed webhook deliveries
- Consider using Zapier's Formatter to clean up data before sending it to other apps
Conclusion
With Statement Flow's webhook integration and Zapier, you can build powerful automations that save hours of manual work. The possibilities are endless – from updating your accounting software to sending custom reports to stakeholders.
Need help? Contact our support team at support@statementflow.co.